I’d like to write about the steps to set up a development environment using Docker, with Django as the Python framework and Postgres as the database.
Create a Dockerfile
When setting up a development environment with Docker, the first step is to create a Dockerfile, which is a set of command instructions used to build the environment. Based on the contents written in the Dockerfile, a Docker image is built.
This time, we’ll write it using a Python base image.
FROM python
ENV PYTHONUNBUFFERED=1
# プロジェクトフォルダ作成
RUN mkdir /code
# ワークディレクトリの設定
WORKDIR /code
COPY requirements.txt /code/
# requirements.txtに指定されているパッケージを追加
RUN pip install -r requirements.txt
COPY . /code/
Creating a requirements.txt file
In a Python project, the requirements.txt file is used to manage the packages and their versions required for the project. It is a file where you list the packages to be installed using the ‘pip install’ command.
This time, we’ll start by installing the following packages.
Django==4.2
django-environ
Pillow
psycopg==3.1.12
Looking back at the Dockerfile, there’s a section where it attempts to install packages from requirements.txt file. That command installs the Python packages listed in the requirements.txt file.
Creating a docker-compose.yml file
When using Docker Compose - a tool that allows multiple containers to be started and managed together - you need to create a definition file called docker-compose.yml and write the configuration in it.
This file is written in YAML format, as shown in the sample below.
version: "3.8"
services:
  db:
    image: postgres
    environment:
      - POSTGRES_DB=postgres
      - POSTGRES_USER=postgres
      - POSTGRES_PASSWORD=postgres
  web:
    build: .
    command: python manage.py runserver 0.0.0.0:8000
    volumes:
      - .:/code
    ports:
      - "8000:8000"
    depends_on:
      - db
Building a Docker image
Once the Docker related files have been created, you can go ahead and build the Docker image. Build the image from the Dockerfile using the following command.
docker compose buildCreating a Django project
Once the build is successfully completed, Django will be installed, so you can proceed to create a Django project. You can create a Django project using the following command.
By the way, the period at the end of the command indicates that the project should be created directly in the current directory, rather than in a new subfolder.
docker compose run web django-admin startproject プロジェクト名 .Creating a Django app
As the final step in setting up the development environment, you’ll create a Django app.
docker compose run web python3 manage.py startapp アプリ名Verify that the development environment has been set up correctly
If everything has gone smoothly without any errors up to this point, your development environment should now be ready to start. Let’s verify that the setup has been completed successfully.
First, start the local server via Docker.
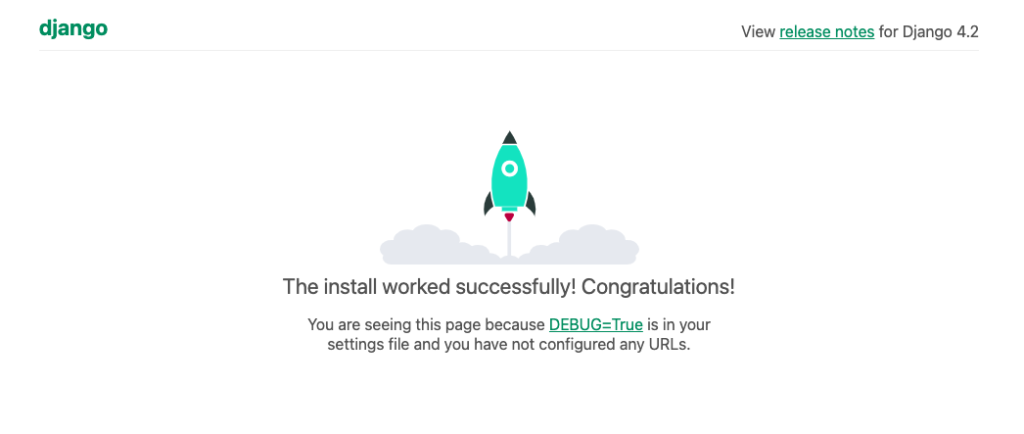
docker compose upSince it’s running on port 8000 of localhost, enter localhost:8000 in your browser’s address bar. If the following screen appears, the setup is complete.